How to replace a drone battery safely at home
A practical Houston guide to swapping drone batteries at home without frying your electronics, voiding warranties, or risking a lithium fire in your garage.
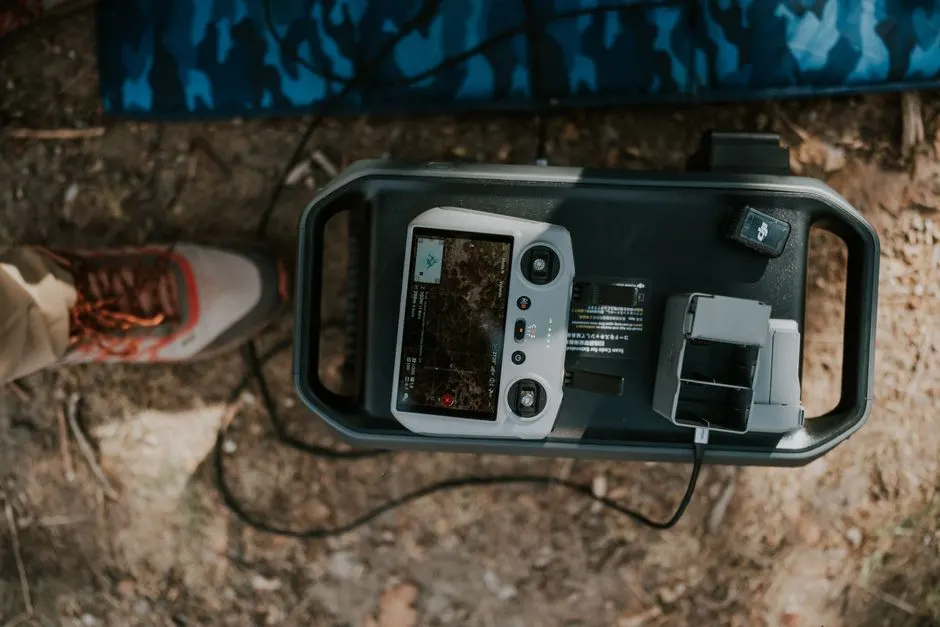
You can replace a drone battery safely at home in about 10 to 15 minutes if you match the cell count, voltage, and connector type exactly, and you never force a swollen pack into the bay. The real risk is not the swap itself - it is what happens when a damaged lithium-polymer (LiPo) cell gets punctured, shorted, or charged on the wrong setting. Houston's summer heat and humidity make that risk worse than most pilots realize.
This guide walks you through the exact steps we use at our bench, the tools that matter, the mistakes that turn a $60 battery into a $600 repair, and when it makes more sense to hand the job to a pro.
Why drone batteries fail faster in Houston
Houston drone batteries degrade faster than the same packs flown in Phoenix or Denver because our average summer dew point sits above 70°F for months, and LiPo cells hate sustained humidity almost as much as they hate heat. A pack stored in a garage that hits 105°F in August will lose 15 to 20 percent of its usable capacity in a single season.
We see three failure patterns over and over in our shop:
- Puffing (swelling): the cell wrapper looks like a pillow. This is hydrogen gas from internal breakdown. Stop flying it immediately.
- Voltage sag: the drone drops out of the sky at 40 percent indicated. Usually one weak cell dragging the pack down.
- Connector corrosion: white or green residue on the XT60 or balance leads after a season of flying near the Gulf. That corrosion adds resistance and heat.
If you fly commercially around the Port of Houston or the Ship Channel, salt air accelerates all three. We regularly see packs from those routes fail at 60 to 80 cycles instead of the 200-plus cycles a well-cared-for pack should deliver.
What you need before you start
Before you touch the battery bay, gather the right tools. A kitchen-table swap with the wrong gear is how people short a $200 flight controller.
- Replacement battery - same voltage, same mAh (or within 10 percent), same connector. Never mix cell counts.
- LiPo-safe bag or ammo can - a $15 fireproof bag is cheap insurance.
- Non-conductive tweezers or plastic spudger - metal tools across battery terminals cause arcs.
- Isopropyl alcohol (90 percent or higher) and lint-free swabs - for cleaning the bay and contacts.
- Multimeter - to check pack voltage before and after the swap.
- Compressed air - to blow dust out of the bay and vents.
If you are not sure which pack your airframe takes, our team handles Drone battery replacement Houston TX daily and can match the exact cell configuration for DJI, Autel, Skydio, and custom FPV builds.
Step-by-step: how to replace a drone battery safely at home in Houston TX
Work on a non-flammable surface - a concrete garage floor or a metal workbench. Never on a carpet, never on a wood table, and never near paper towels or solvents.
1. Power down and discharge the drone
Turn the drone off, remove the props if you can, and let it sit for 5 minutes. This lets the capacitors drain. If the drone was just flying, the battery will be warm - wait until it is at room temperature before handling it.
2. Remove the old pack
Press the release tab (or squeeze the side latches on DJI Mavic and Air series) and slide the pack straight out. Do not yank. If it feels stuck, look for a swollen cell pressing against the bay wall - that is a sign the pack needs to go into a fireproof bag and out of your house.
3. Inspect the bay and contacts
Look for corrosion, bent pins, or black scorch marks. Wipe the contacts with a swab dipped in isopropyl alcohol. Blow out any dust with compressed air. A dirty bay is the number-one cause of intermittent power loss mid-flight.
4. Check the new battery voltage
A healthy 4S pack should read 14.8 to 16.8 volts. A 6S pack should read 22.2 to 25.2 volts. If a "new" pack reads below 3.0 volts per cell, it has been sitting on a shelf too long and may not accept a charge.
5. Seat the new battery
Slide it in until the latch clicks. Tug gently - it should not move. If it wobbles, the retention clip is worn and needs replacement before you fly.
6. Power up and calibrate
Turn the drone on and let the flight controller recognize the pack. Check the voltage reading in your app. If the numbers look wrong, power down and reseat the battery. For DJI and Autel airframes, you may also need to run a quick Drone firmware updates Houston TX check, since some firmware versions refuse to arm with an unrecognized battery serial.
7. Store it correctly
If you are not flying within 24 hours, discharge the pack to storage voltage - 3.8 to 3.85 volts per cell. Store it in a LiPo bag at 50 to 70°F. In Houston, that means inside the house, not the garage.
Common mistakes and what to watch out for
The mistakes that cause fires and fried electronics almost always happen in the first 60 seconds of the swap. Here is what we see most.
- Using a metal tool across the terminals. One slip and you weld the tool to the pack. Always use plastic or non-conductive tools.
- Charging a swollen pack "just to see." Do not. A puffed LiPo can vent flame with no warning.
- Mixing cell counts. A 4S battery in a 6S drone will either refuse to arm or fry the ESC on the first throttle punch.
- Storing at full charge in a hot garage. This is the single fastest way to kill a pack in Houston. Full-charge storage at 100°F can cut cycle life in half.
- Ignoring the connector. A loose XT60 or a corroded balance lead causes voltage sag that looks like a bad cell but is actually a bad connection.
If you have already made one of these mistakes - say, you dropped a pack or flew it after a hard landing - our team can run a full Drone diagnostics Houston TX check before you risk another flight.
How much does drone battery replacement cost in Houston TX?
Typical 2026 pricing in Houston runs $45 to $120 for the battery itself, depending on cell count and brand, plus $25 to $60 for labor if you have a shop do the swap and calibration. A DJI Mini-series intelligent flight battery usually lands around $55 to $75. A Mavic 3 or Air 3 pack runs $90 to $130. Custom FPV packs built from individual cells can hit $150 or more.
If the battery bay itself is damaged - corroded pins, a cracked retention clip, or a swollen pack that warped the housing - expect another $40 to $90 in parts and labor. We quote the whole job upfront so you are not guessing.
Compare that to the alternative: a mid-flight battery failure on a $1,500 airframe usually means a full Drone crash repair Houston TX bill that starts around $300 and climbs fast.
When to call a professional
Call a pro if the battery is swollen, if the drone has been in water, if the bay shows scorch marks, or if the drone refuses to recognize a brand-new pack. Those are not DIY problems - they are signs of deeper electrical damage that a simple swap will not fix.
We also recommend professional service if you fly commercially under Part 107. A documented battery replacement and calibration record protects you if the FAA or a client ever asks about airworthiness. Our technicians handle Drone repair Houston TX for hobbyists and commercial operators across the metro, from Katy to Clear Lake.
Frequently Asked Questions
How to replace a drone battery safely at home in Houston TX?
Power down, let the drone cool, release the latch, and slide the pack straight out. Inspect the bay, check the new pack's voltage with a multimeter, seat it until it clicks, then power up and verify the reading in your app. Work on concrete, never carpet.
What are the risks of replacing drone battery in Houston Texas?
The main risks are lithium fire from a punctured or shorted cell, frying the flight controller with a metal tool slip, and installing the wrong voltage pack. Houston heat and humidity also accelerate corrosion and swelling, so inspect every pack before you fly it.
Where to get drone battery replacement in Houston TX?
You can buy packs online or from local hobby shops, but for calibration and bay inspection, Houston Drone Repairs Pros handles walk-ins and mail-in service across the metro. We stock common DJI, Autel, and FPV packs and can order less common sizes in 2 to 4 days.
How much does drone battery replacement cost in Houston TX?
In 2026, expect $45 to $120 for the battery and $25 to $60 for professional labor. Bay damage or connector repair adds $40 to $90. Total out-the-door for a standard swap and calibration usually lands between $70 and $180.
Can I replace drone battery myself in Houston TX?
Yes, if the pack is healthy and the bay is clean. It is a 10 to 15 minute job with basic tools. Do not DIY if the old pack is swollen, the drone has been in water, or the bay shows burn marks - those need a bench inspection.
Get help with Drone repair in Houston
If your battery is swollen, your drone will not arm, or you would rather not risk a lithium fire in your garage, we can handle the swap, the calibration, and the bay inspection the same day. Call Houston Drone Repairs Pros at +1 281 555 4468 and we will get you back in the air safely.